September 11, 2026 • Brian Webb • 11 min reading time • Prices verified June 29, 2026
Pull-Up Band Progression Guide: Moving From Assisted Reps to Unassisted Pull-Ups
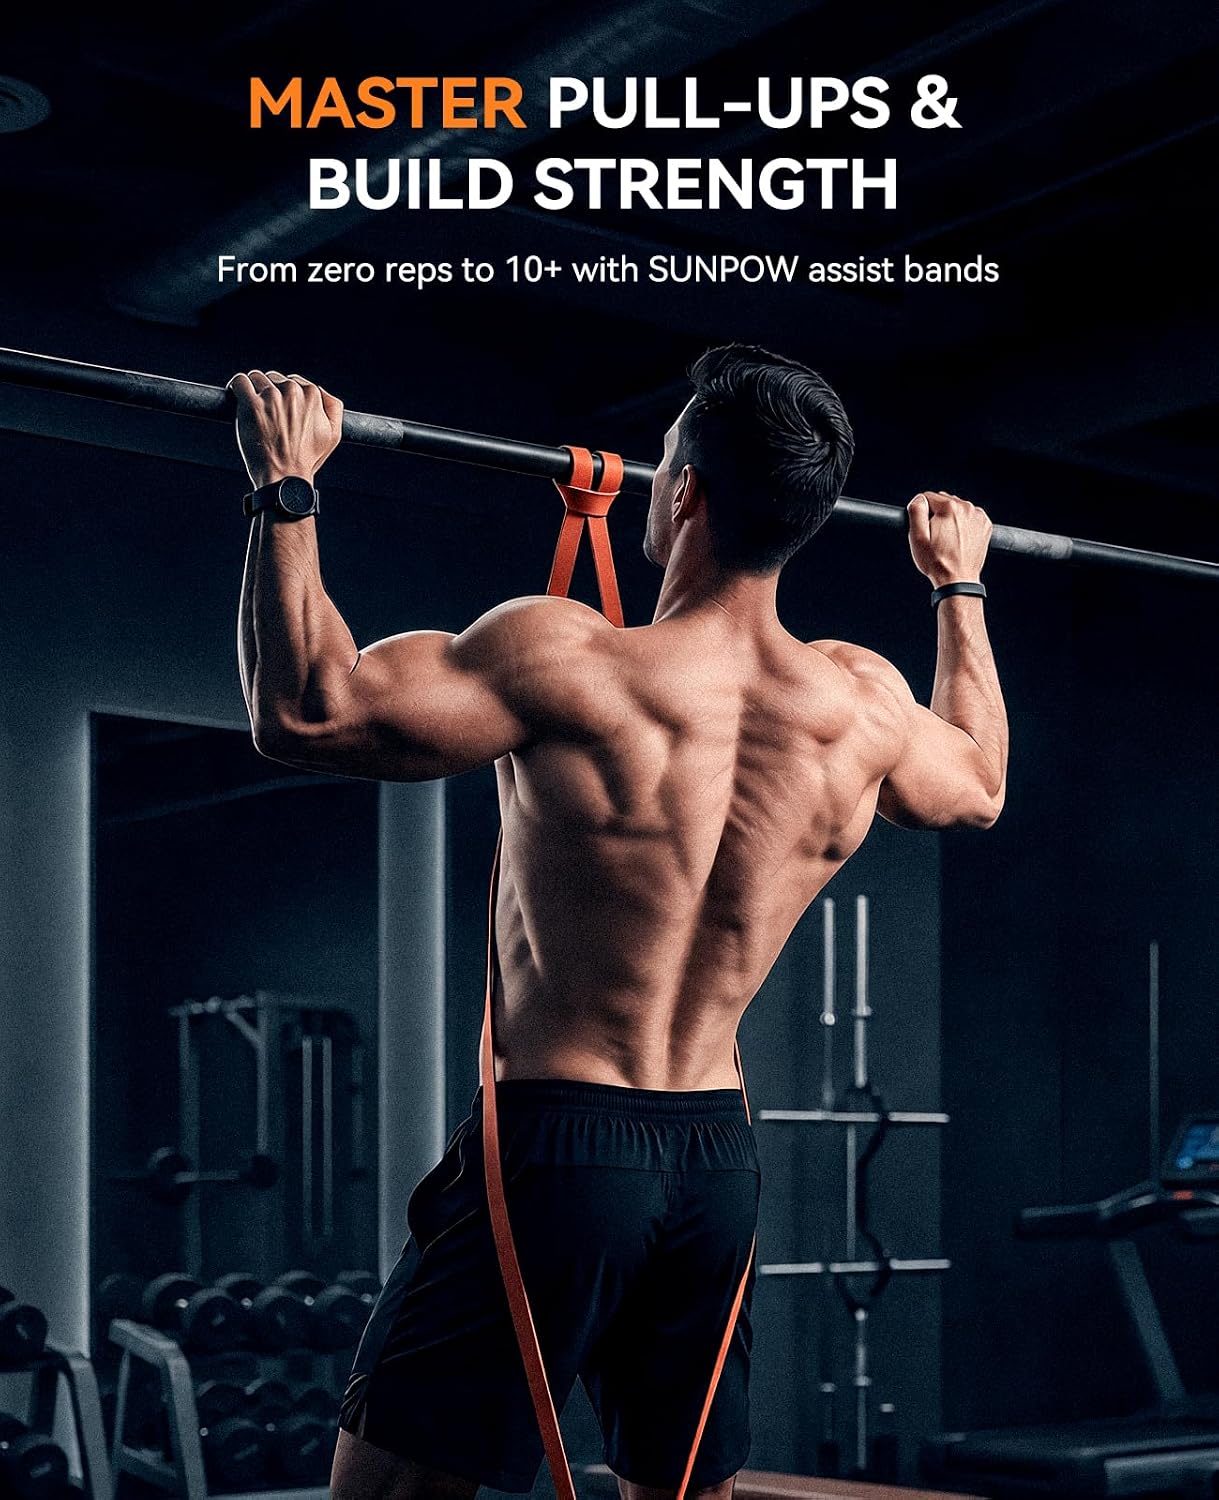
A pull-up is one of the most effective upper-body exercises you can do — it works your back, shoulders, biceps, and core all at once, using nothing but your bodyweight and something to hang from. The problem is that for most beginners, the full movement is brutally hard right away. This is where a pull-up assistance band (also called a loop band or resistance band) comes in. Think of it as a giant rubber loop — anywhere from about 12 to 41 inches in circumference — that hooks over your pull-up bar and takes some of your weight as you pull yourself up, letting you do real reps while your body catches up to the movement. This guide will walk you through exactly how to use one, how to choose the right resistance level, how to know when to move to a lighter band, and how to eventually ditch the band entirely. Whether you’ve never done a single pull-up or you’ve stalled at two, this is where you start.
| EDITOR'S PICKWIKDAY Resistance Bands | Mid-tierSUNPOW Pull Up Assistance Bands | Budget pickFit Simplify Pull Up Assist Res… | |
|---|---|---|---|
| Bands included | Set | Set of 5 | — |
| Door anchor | ✓ | — | — |
| Material | — | Natural latex | — |
| Color | — | — | Green |
| Use case | Stretch/train | Pull-up prog. | Therapy/mobility |
| Price | $29.99 | $29.98 | $16.95 |
| See on Amazon → | See on Amazon → | See on Amazon → |
How a Pull-Up Assistance Band Actually Works
A resistance band doesn’t make the movement easier in a passive way — it meets you at the bottom of the pull, where most people are weakest, and provides extra lift that decreases as you rise. This is the opposite of a lat pulldown machine, which keeps resistance constant throughout the range of motion. That variable assist is actually a useful training property: you’re still doing real work through the top half of the rep.
The mechanics are simple. You loop the band over the pull-up bar, then place one foot (or one knee, depending on your height and flexibility) into the hanging loop at the bottom. When you hang, the band stretches under your weight. When you pull up, the elastic energy stored in the band helps launch you past the sticking point.
One practical detail that almost no product description mentions but that comes up constantly in buyer reviews: you will likely need a step stool or small box to get your foot into the loop — especially with thicker bands that don’t hang very low. Reviewers across multiple band sets consistently raise this as a setup hurdle. Keep a step nearby before your first attempt; it makes the whole thing much less awkward and removes a frustration point that can kill momentum on your first session.
ACE Fitness notes in its resistance band training overview that loop bands are among the most versatile pieces of home-gym equipment available, with applications across strength, mobility, and rehabilitation work — a point we’ll come back to when we talk about getting more than one use out of your purchase.
Choosing Your Starting Resistance: A Plain-Language Decision Framework
Resistance bands for pull-up assistance are sold in sets organized by thickness, which corresponds roughly to how much weight they offset. Most sets include four to six bands ranging from a very light assist (useful for people who are close to doing a pull-up) to a very heavy assist (appropriate for true beginners or heavier athletes). Here’s a straightforward starting framework:
By the numbers — approximate offset by band thickness:
| Band color / size (typical) | Approximate assist range | Best starting point for |
|---|---|---|
| Thin (½ in / ~10–15 lbs) | 10–35 lbs | Near-ready, 1–3 unassisted reps |
| Medium (¾ in / ~20–30 lbs) | 25–65 lbs | Building pull-up strength, 0–1 reps |
| Heavy (1¼ in / ~30–50 lbs) | 50–100 lbs | True beginners or heavier body weight |
| Monster (2+ in) | 80–150+ lbs | Rehabilitation, very high body weight |
Offset ranges based on published manufacturer specs and aggregated reviewer-reported experience. Actual assist varies by body weight, bar height, and rep depth.
If you’ve never done a pull-up: Start with the heavy band. Your goal on day one isn’t pride — it’s completing full-range reps with good form so your nervous system and muscles learn the movement pattern. Men’s Health’s beginner pull-up programming consistently emphasizes that full-range reps with more assistance beat partial-range ego reps every time.
If you can already do 1–3 unassisted reps: The medium band is your training tool. It’ll let you extend your sets meaningfully without faking the movement.
If you’re between bands: Double up — layer a thin band over a medium band for a combined assist. This is an underused trick that buyers of multi-band sets discover quickly.
The Progression Plan: From Zero to Unassisted
The goal of band-assisted training isn’t to stay comfortable — it’s to systematically reduce how much help you need. Here’s a practical week-by-week framework.
Phase 1 — Weeks 1–3: Build the Pattern
Use the heaviest band that lets you do 3 sets of 5 clean reps with a 2-second pause at the top and a controlled lowering (eccentric) phase on the way down. That slow lowering — called an eccentric contraction — is doing most of the strength-building work. Don’t drop fast.
Frequency: 3 sessions per week, with at least one rest day between sessions.
Session structure:
- 3 × 5 assisted pull-ups (heavy band)
- 3 × 5 dead hangs (just grip the bar and hang for 20–30 seconds — this builds grip and shoulder stability)
- 3 × 8 scapular retractions (hang from the bar and squeeze your shoulder blades together without bending your elbows — trains the muscles that initiate a real pull-up)
One buyer tracking their progress with SUNPOW bands reported moving from 2 to 6 clean reps in about a week — which is a realistic early-stage jump that reflects nervous system adaptation more than raw strength gain. You often get better quickly at the beginning because your brain is learning the movement, not just your muscles. Don’t be surprised when progress slows in weeks 3–5; that’s when real tissue strength is being built.
Phase 2 — Weeks 4–8: Reduce the Assist
When you can complete 3 sets of 8 reps with your current band, it’s time to drop to the next lighter band. You’ll likely drop back to 5 or 6 reps — that’s expected. Rebuild to 3 × 8 and repeat.
Outside Online’s pull-up training guidance reinforces this ladder approach: progressive reduction of assistance forces continued adaptation, which is precisely what creates the strength transfer to unassisted reps.
Signs you’re ready to move to a lighter band:
- You consistently hit 8+ reps per set with controlled form
- The band feels almost unnecessary for the top half of the rep
- You’re not struggling to initiate the pull from a dead hang
Phase 3 — Weeks 8–16: Test Unassisted Reps
At some point, try a set without any band. Do it after a full warm-up, not cold. If you can get 1 clean rep, you’re in the right range. Now train unassisted singles and doubles alongside assisted sets. BarBend’s pull-up progression coverage consistently recommends this hybrid approach: use the band for volume and use unassisted attempts for quality — don’t retire the band the moment you can do one solo rep.
Safety: Can Bands Snap During a Pull-Up?
This is worth addressing directly because it’s a real concern — not a hypothetical one.
One WIKDAY band buyer documented a candid and important account: over nearly three years of use, two bands broke, with one snapping during an assisted pull-up. This is a meaningful data point. Resistance bands are made from vulcanized latex, and like all rubber products, they degrade over time — especially with repeated stretching, UV exposure, chalk contact, and storage near sharp edges or heat sources.
Pre-use inspection — do this every session:
- Unroll the band fully and hold it up to a light source.
- Look for white stress marks, small cracks, nicks, or any thinning along the band’s length.
- Run your fingers along the inner surface — rough texture or tackiness can indicate micro-degradation.
- Retire any band that shows cracking or significant discoloration in a localized area.
The same reviewer also noted that some bands produce a strong rubber smell — but specifically mentioned that certain long-loop bands produced no noticeable rubber odor, which matters to buyers who are sensitive to chemical smells or setting up in an enclosed space like a basement or spare room. This is worth checking in buyer reviews for whatever set you’re considering, because product descriptions rarely address it.
Bands have a finite life. Budget-priced sets are not designed for five years of daily use. If you’re training regularly, inspect monthly and expect to replace individual bands at the 18–24 month mark depending on usage frequency and storage conditions.
Other Ways to Use Pull-Up Assistance Bands
Multiple buyers across SUNPOW, WIKDAY, and other long-loop band sets describe using the same bands for squats, stretching, and mobility work — which is worth highlighting if you’re on the fence about the purchase.
Secondary uses that owners consistently report:
- Banded squats and deadlifts: Loop a band under your feet and over your shoulders for resistance during bodyweight squats or RDLs.
- Hip flexor and hamstring stretching: Lie on your back, loop the band around your foot, and use it to deepen a straight-leg stretch.
- Shoulder mobility work: Thread your arms through the band for shoulder dislocates or pass-throughs.
- Lateral band walks: Step inside the loop and walk sideways to activate glutes without any additional equipment.
- Tricep pushdowns: Anchor the band overhead and press down — effective with a medium-weight band.
ACE Fitness’s resistance band training documentation covers many of these applications, reinforcing that long-loop bands are among the most genuinely multi-use pieces of home equipment available at any price point.
Frequently Asked Questions
How do I get my foot into the band to start an assisted pull-up? Use a step stool, small box, or even a sturdy chair positioned under the bar. Drape the band over the bar first, then step up so you can comfortably place one foot into the hanging loop. Once your foot is in, step off the box and let the band take your weight gently. This is a near-universal beginner challenge that product listings almost never mention — having a step nearby makes your first session dramatically smoother.
Which resistance level should a true beginner start with? Start with the thickest band in whatever set you buy — typically labeled “heavy” or “monster.” The goal in the first two weeks is learning the movement with full range of motion. Too light a band on day one usually means incomplete reps or bailing out before full extension, which builds bad habits. You can always move lighter; start where you can actually finish the rep.
How do I know when I’m ready to move to a lighter band? When you can complete 3 sets of 8 controlled reps — meaning a 2-second hold at the top and a slow lowering — with your current band, drop to the next lighter option. Expect to lose a few reps temporarily. That resistance gap is where adaptation happens.
Is it safe to use resistance bands for pull-ups — can they snap? Yes, bands can and do break, particularly as they age. A documented reviewer account confirms this risk after roughly three years of use. Inspect your bands before every session for cracks, white stress lines, nicks, or thinning spots. Retire any band showing these signs immediately. Don’t store bands near heat sources, sharp edges, or in direct sunlight.
Can I use pull-up assist bands for exercises other than pull-ups? Absolutely — this is one of the strongest arguments for buying a set. Owners consistently use the same bands for banded squats, hip flexor stretching, shoulder mobility drills, lateral walks for glute activation, and resistance work for arms and upper back. The purchase has a much wider return than just pull-up training.
How long does it realistically take to do an unassisted pull-up starting from zero? For most people training three days per week with consistent progressive band reduction: expect 8 to 16 weeks to reach a first unassisted rep. Heavier body weight, limited training history, or inconsistent sessions push that timeline longer. The early progress (like the SUNPOW reviewer who jumped from 2 to 6 reps in a week) reflects nervous system learning, not full muscle development — so don’t extrapolate that rate out. Steady, patient work with the ladder framework above is the reliable path.
The bottom line decision rule: If you can’t yet do 3 clean pull-ups on your own, start with a heavy-resistance long-loop band set, a step stool, and the Phase 1 plan above. If you’re already at 3–5 reps and stalled, a medium band plus the Phase 2 ladder is your next move. Either way, inspect the band before every session and treat the set as a multi-year but not indefinite training tool.