June 18, 2026 • Brian Webb • 8 min reading time • Prices verified June 29, 2026
Pull-Up Assist Bands for Home Gyms: How to Pick the Right Resistance Level Without Wasting Money
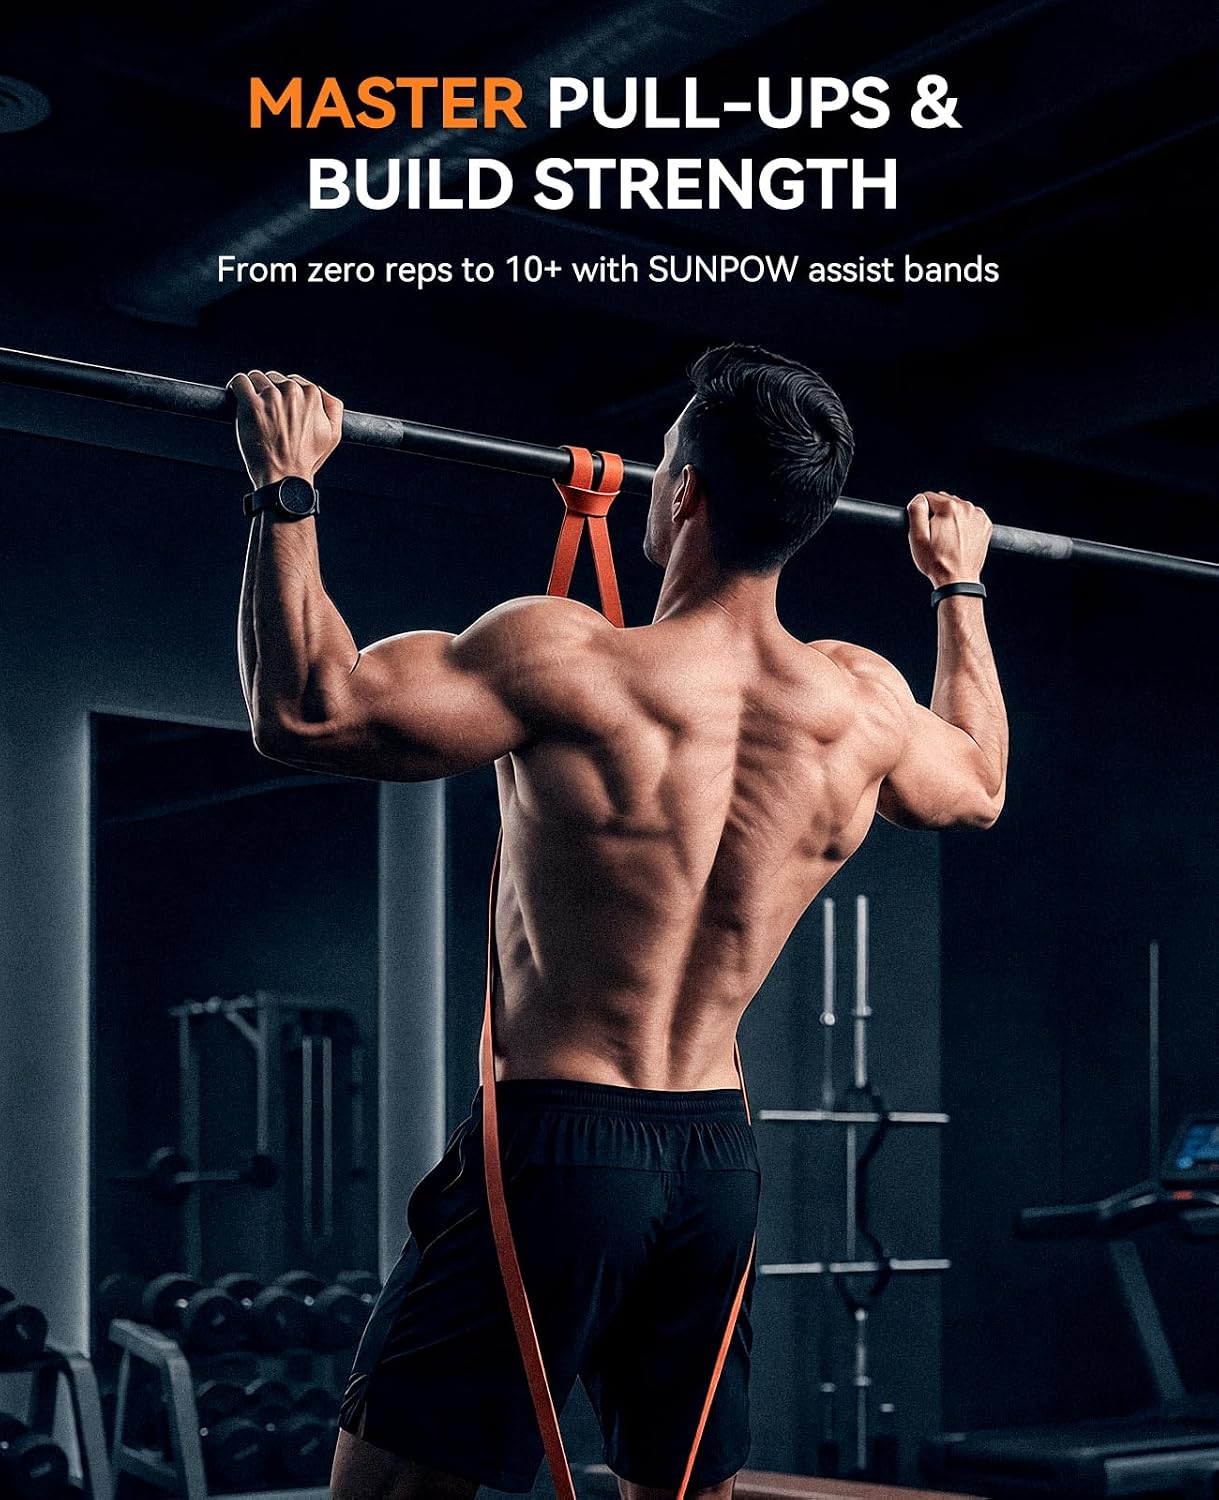
A pull-up assist band is exactly what it sounds like: a large loop of thick rubber — usually 41 inches around — that you hang from a pull-up bar and step or kneel into. As you pull yourself up, the band stretches under your weight and gives you a small mechanical boost, making the movement easier than doing a full, unassisted pull-up. Think of it as a spotter made of rubber. If you’ve been staring at a pull-up bar wondering when you’ll ever be able to use it without embarrassing yourself, or if you’ve bought a band before and immediately realized it was the wrong thickness, this guide is for you. We’ll walk through exactly how resistance levels work, which band weight makes sense for your body weight and current strength, and the clearest possible decision rules so you don’t waste $15–$40 on something that collects dust.
What “Resistance Level” Actually Means — and Why It’s Backwards
Here’s the first thing that trips people up: a band with more resistance gives you more help. A heavy, thick band assists you more than a thin, light one. When manufacturers label bands as “light,” “medium,” or “heavy,” they’re describing the band’s physical tension — not how hard your workout will be. More band tension means an easier pull-up, at least until you build the strength to need less help.
Bands are measured in pounds of assistive force across a range, because the tension changes depending on how far the band is stretched. A “medium” band rated at 30–60 lbs doesn’t deliver a flat 45 lbs of help — it delivers less assistance at the bottom of the pull-up (where the band is less stretched and you’re strongest) and more assistance at the top (where the band is fully loaded and you’re typically weakest). That graduated boost is actually useful: it mirrors where most people struggle most.
Per ACE Fitness’s resistance band training overview, this variable-resistance property is one of the reasons bands have become a staple in both rehabilitation and strength programming. The assistance is highest when you need it most.
The Standard Resistance Tiers
Most reputable brands — Rogue, Iron Woody, Perform Better, WOD Nation — organize their bands into predictable tiers:
| Color / Label | Typical Resistance Range | Assistive Lift Equivalent |
|---|---|---|
| Thin / Light | 5–35 lbs | Finisher band; minimal help |
| Medium | 30–60 lbs | Good for someone close to their first pull-up |
| Heavy | 50–80 lbs | Strong assist; beginner-friendly |
| Extra Heavy / Monster | 65–125 lbs | Maximum assist; large body weight or zero base strength |
Note: exact ranges vary by brand. Always check the manufacturer’s published spec sheet before buying.
Color coding is not standardized across brands. A red band from Rogue is not the same resistance as a red band from WOD Nation. When comparing bands across brands, go by published pound ranges, not colors.
How to Pick the Right Band for Your Body Weight and Strength Level
The honest answer is that there’s no single formula — but there are clear decision brackets that get you to the right purchase without overthinking it.
The Body Weight Rule of Thumb
A rough starting framework used widely in programming resources, including Garage Strength’s pull-up progression guide, is this: start with a band that assists roughly 30–50% of your bodyweight if you’ve never done a pull-up before. If you weigh 180 lbs, that’s a band rated for roughly 55–90 lbs of assistance. That puts most beginners in the heavy-to-extra-heavy tier.
Where most people go wrong is buying a thin band because it feels less intimidating. The result is a band that does almost nothing, which means they still can’t complete a rep and feel like they failed. Get enough assistance to actually move through the full range of motion cleanly. You can always size down as you get stronger.
Your Current Pull-Up Status
You cannot do a single pull-up yet: Start with the heaviest assist band that lets you complete 3 sets of 5–8 clean reps. For most people under 200 lbs, that’s the heavy (50–80 lb) band. For people over 200 lbs or with very limited upper body baseline strength, look at the extra-heavy or “monster” tier (65–125 lbs).
You can do 1–3 pull-ups unassisted: You’re in the medium (30–60 lb) band zone. The goal here is volume — getting to sets of 8–10 reps before you drop the band entirely. BarBend’s best pull-up assist bands guide consistently recommends this tier as the most useful for the widest range of intermediate beginners.
You can do 4–8 pull-ups and want to push past that plateau: A thin or light band (5–35 lbs) works here as a “greasing the groove” tool — adding band-assisted volume after your unassisted sets to build total rep count without grinding joints.
You’re training a client or family member with significantly different bodyweight: Buy two bands. A heavy and a medium covers almost every scenario. Stacking two bands doubles the assist if needed.
Band Type, Durability, and What Actually Breaks
Pull-up assist bands are almost universally made from continuous-loop natural latex. The differences that matter are wall thickness, layer count, and where the seam is (if there is one). Seamless molded bands tend to outlast welded-loop bands under repeated stretching, though per Men’s Health’s “How to Finally Do a Pull-Up” feature, most home gym users won’t push volume high enough to stress a quality band to failure within 1–2 years of normal use.
What Owners Report Breaking
Across aggregated owner reviews on major retail platforms and recurring reports in home gym communities, the failure modes are predictable:
- Edge cracking near the bar contact point. Happens when bands are left looped over bare steel pull-up bars in garages with temperature swings. Latex degrades faster with UV exposure and freeze-thaw cycling. Store bands off the bar when not in use.
- Snap during eccentric loading (lowering yourself slowly). Thin bands fail faster under slow-eccentric work than under standard reps. If you’re doing 5-second negatives, size up one tier for safety margin.
- Delamination on layered bands. Cheaper multi-layer bands separate at the seam over time. Brands that publish their layer construction in spec sheets — Rogue and Iron Woody both do — give you something to evaluate. Budget bands from unspecified overseas manufacturers rarely disclose this.
Price Reality Check
By the numbers:
- Entry-level single band (unbranded): $8–$15
- Mid-market single band (WOD Nation, Serious Steel): $15–$25
- Premium single band (Rogue, Iron Woody): $22–$38
- Full set of 4–5 bands (REP Fitness, Iron Woody): $60–$120
The price-per-band math heavily favors buying a set if you’ll eventually use multiple resistance levels — which almost everyone does. A $90 five-band set from a reputable manufacturer costs less than buying three individual bands reactively as you progress.
Decision Rules: The “If X, Then Y” Framework
This is where most guides get vague. Here’s the honest version:
If you’ve never done a pull-up and weigh under 175 lbs: Buy one heavy band (50–80 lb range). Don’t buy a set yet. Confirm it works for your mechanics before committing to a full set.
If you’ve never done a pull-up and weigh over 175 lbs: Buy a heavy or extra-heavy band (65–125 lbs). A heavy alone may not give you enough assist. When in doubt, size up — you can always use less stretch by placing your foot closer to the bar anchor rather than dropping deep into the loop.
If you can do 2–5 pull-ups already: Skip the heavy band and buy a medium (30–60 lbs). You’re past the stage where maximum assist helps you. Your goal is volume with moderate help, not full scaffolding.
If you’re buying for a home gym that multiple people will use: Buy a set of at least three bands — light, medium, heavy. This covers 95% of user combinations without re-buying. REP Fitness and Iron Woody both offer three-piece sets in this range.
If your goal is to eliminate the band entirely within 6 months: Buy just a medium and a light. Heavy bands can create a dependency pattern — they’re so comfortable that people stay in them longer than they need to. A medium band forces you to work harder sooner, and you have the light band ready as your exit ramp.
If you’re a trainer buying for client use in a studio or home training context: Prioritize durability and spec transparency over price. Rogue and Iron Woody publish thickness specs and have documented warranty policies that hold up in commercial-adjacent use. Unbranded bands are a false economy when you’re running 10+ sessions a week through the same equipment.
One Thing Most Guides Skip: Placement Matters as Much as Resistance Level
The way you use the band changes the effective assist. Placing your foot in the band (foot loop) gives more stability but tends to create a slight forward pull that can compromise your lat engagement. Placing your knee in the band keeps you more vertical and more closely mimics the unassisted movement pattern. Garage Strength’s pull-up progression resources specifically recommend the knee-loop position for strength development because it better transfers to the unassisted movement.
Neither is wrong. But if your goal is to eventually drop the band, practice the knee position so your nervous system is building the right pattern.
The Short Version
Pull-up assist bands are one of the most genuinely useful pieces of equipment in a home gym, and they’re also one of the easiest to buy wrong. The number-one mistake is under-buying resistance because heavy sounds like cheating. It’s not. Full reps with appropriate assist build strength. Partial reps with a band that barely helps build frustration.
Get a band heavy enough to complete real, clean reps. Progress to lighter bands as those become easy. Buy from a manufacturer that publishes its specs. And if you’re outfitting a space that more than one person will use, the set math almost always wins.
That’s it. The rest is just pulling.